Saturday, October 29, 2011

In light of recent weather...

I leave you with this:

For a while, I really didn't like Martha Stewart. I associated her with that show my grandmother made me sit through when I was home sick.

But you know what?


She's so freaking awesome.

Wednesday, October 26, 2011

New Pin Cushion

This is one of those crafts made out of necessity.

I NEEDED a pin cushion.
But the ones that they had at the fabric store were all boring tomatoes.

So I made one.

Materials:

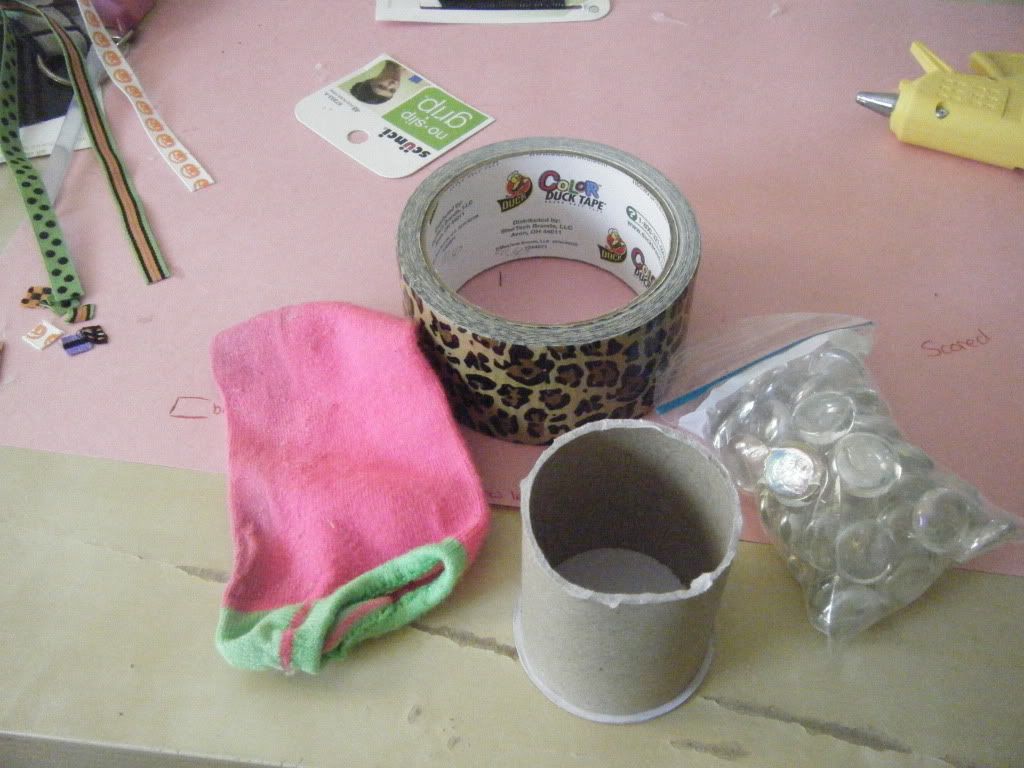
Empty cardboard ribbon spool (a toilet paper or paper towel tube would work too)
1 lonely sock (or other fabric)
Something to weigh down the pin cushion (so it doesnt get knocked over)
Something to decorate the outside of the tube (I used some cheetah print duct tape)
Stuffing
Scissors
String


How-to:

So the main part about this is that I used what I had lying around, so anything here can be replaced with whatever you have around. [Except maybe the stuffing]

1. Gather everything together.

Photobucket
I used some of those decorative glass pebbles to weigh down the pin cushion.


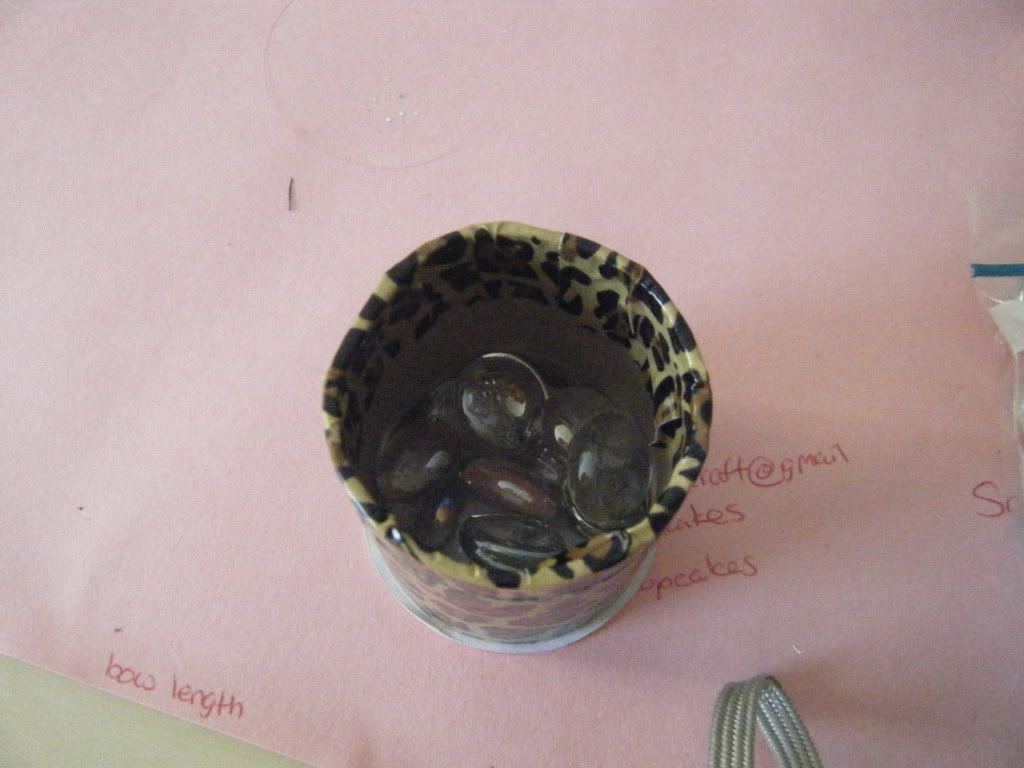
2. Decorate the tube.


3. Put something in the tube to weigh it down.
(If you're using a paper towel/toilet paper tube, make sure to seal off the bottom somehow)

Photobucket

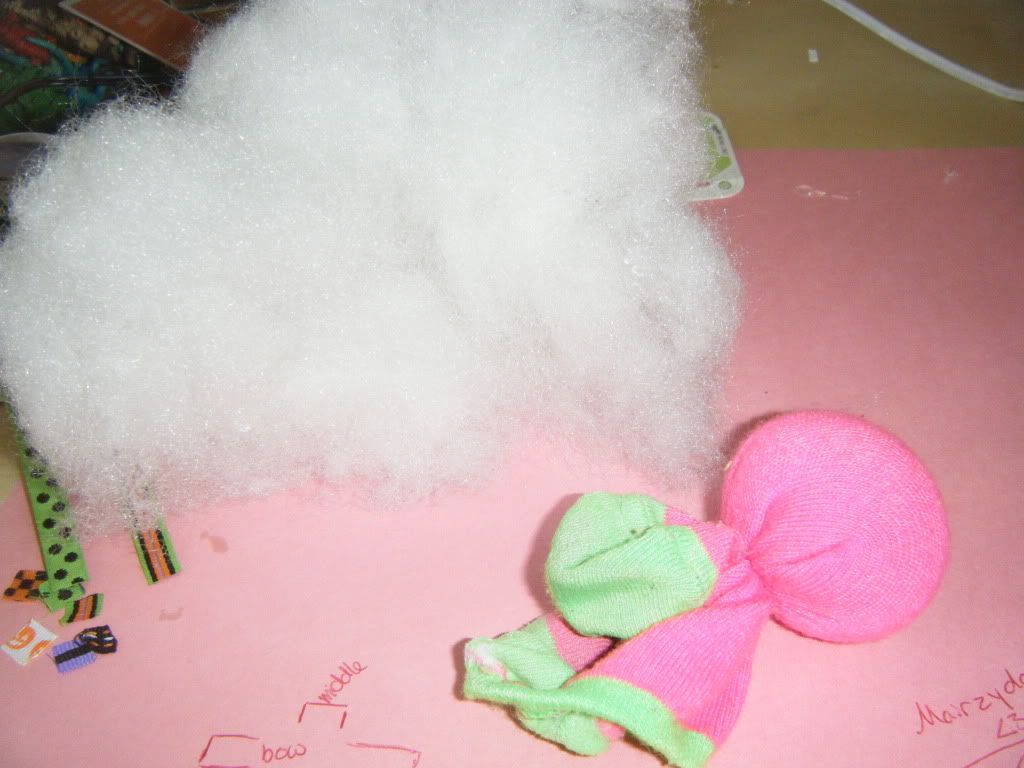
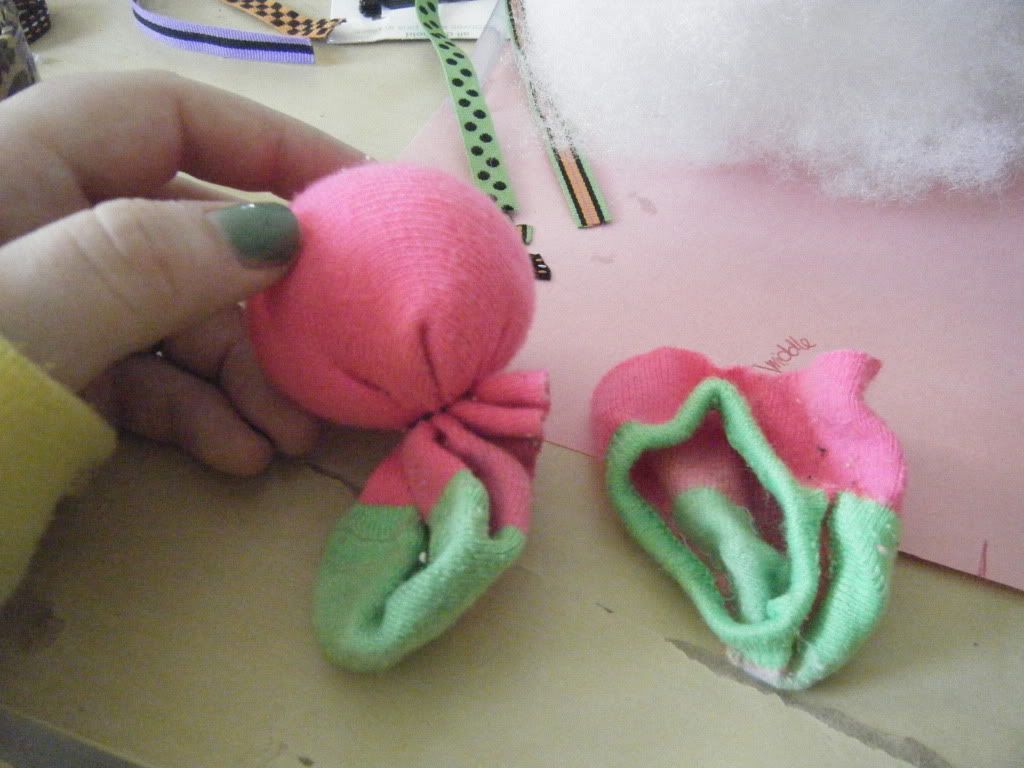
4. Make the pin cushion


PhotobucketPhotobucket

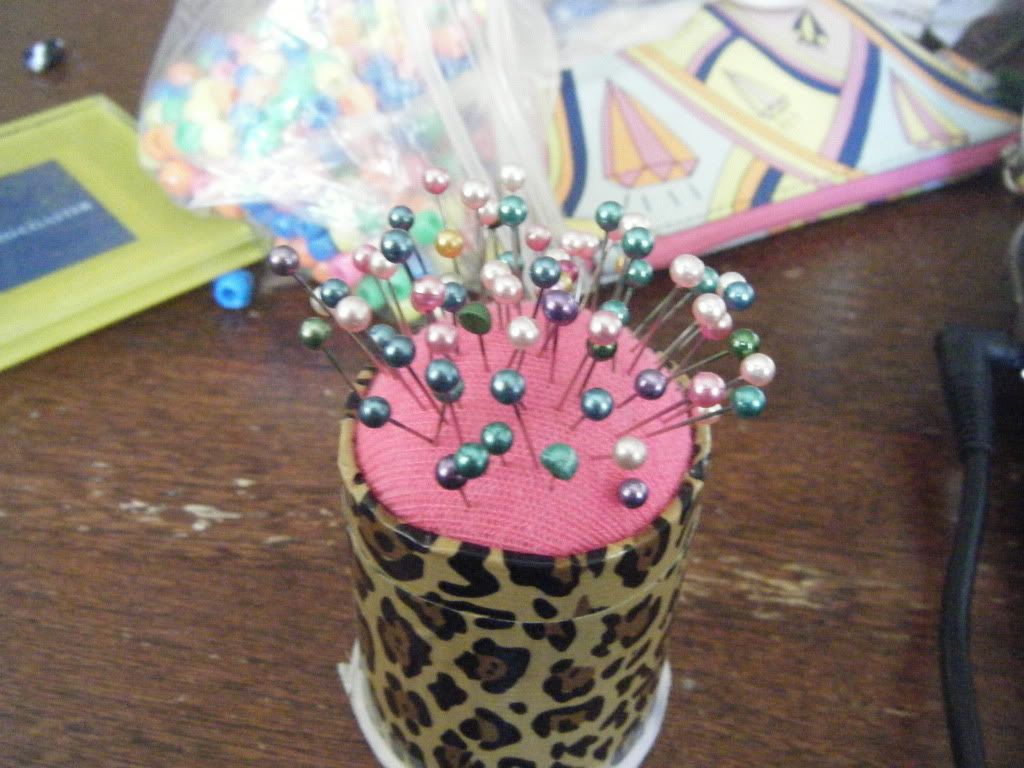
And here is the finished product:

Photobucket

Sunday, October 23, 2011

The Mitten is a Lie

Okay, so truth be told, I don't really knit.

I don't really like mittens, either. (well, I do, but I'm ill prepared for life most days, so I don't wear them often).
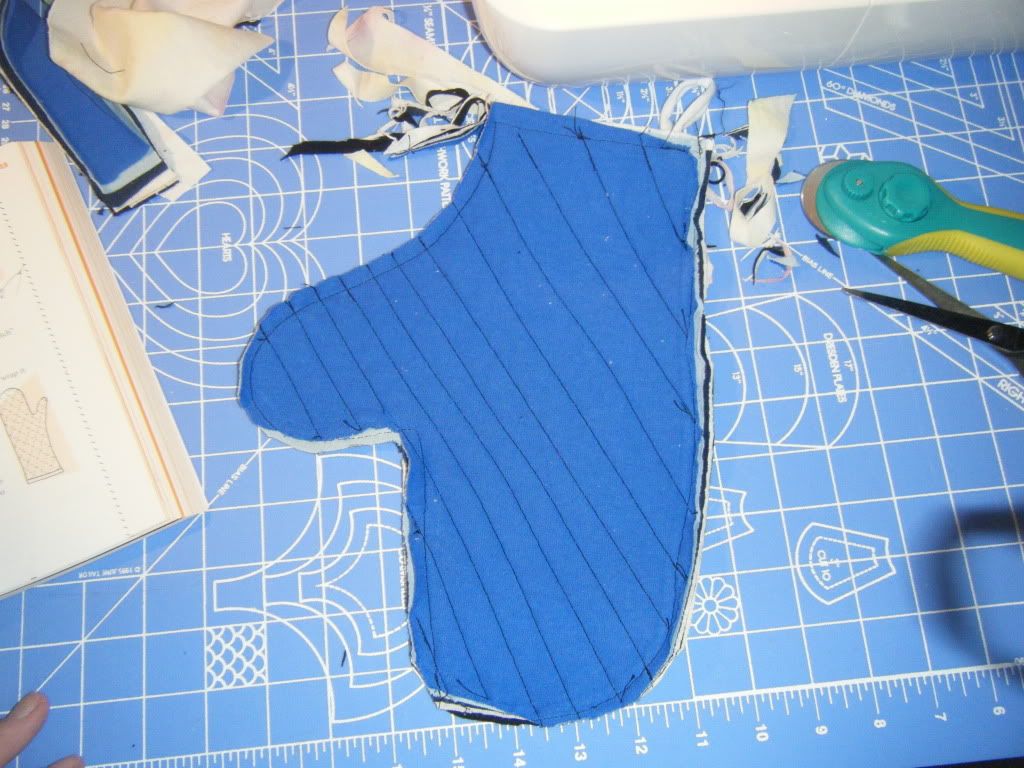
But I did make an oven mitt this weekend!

Well, It's technically a pot holder...

Photobucket

That's not actually a mitten of any sort. It just looks like one.

I'm currently working on a quilt (when am I not working on a quilt?? oh, right, never...)
Specifically, a T-Shirt quilt, and those create a LOT of scraps.
Rather than throw them away, I traced a mitten shaped thing and sewed 7 layers together.

Next?
Cutting up more scraps for a small braided rug.

Monday, October 17, 2011

I'm BA-ACK!!!!

Sorry about that folks!
Its been a crazy week!
But in return, I have several crafts to put up.
So I'm hoping you'll forgive me.

First! There was some crafty business going on at UMass Boston, and its a craft I don't do, so I took the opportunity to check it out!

Glass Etching:
Glass etching is this really cool procedure, mostly because it is a little bit dangerous. You get to work with ACID!
okay, its not quite mad scientist stuff, but involves applying an acidic paste to glass. This roughs up the surface and you use a stencil to get your desired effect.

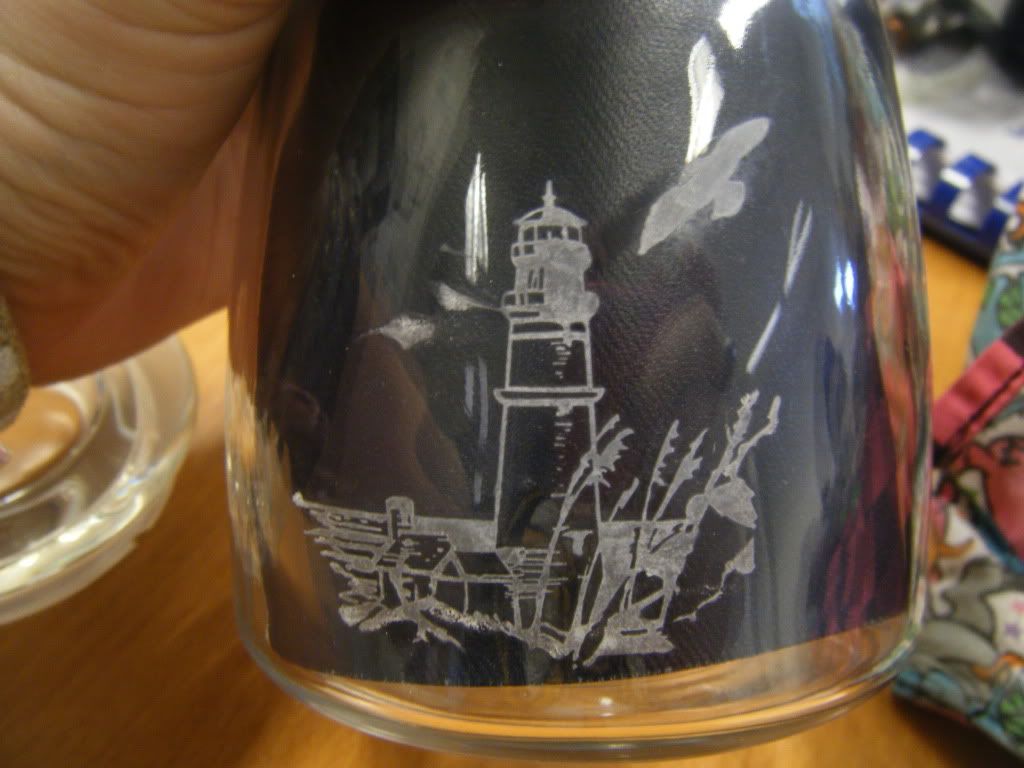
Here is my finished product:


Photobucket

So, first things first: GO BEACONS!

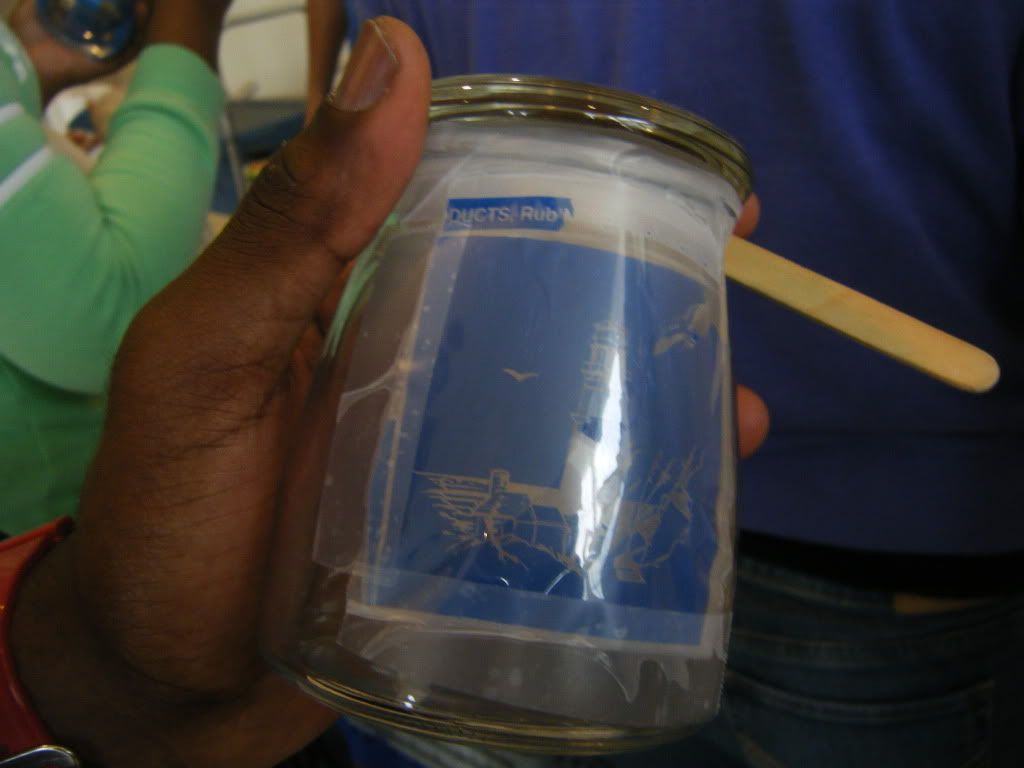
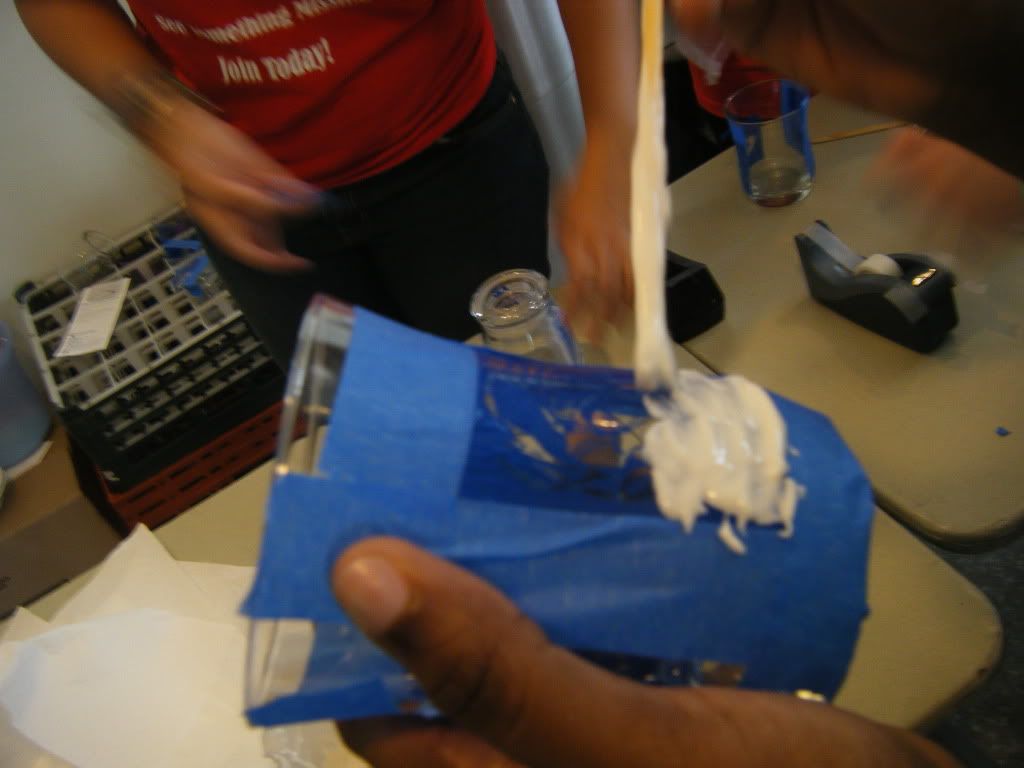
Anyways, the stencil process for glass etching is really cool. First, you apply the stencil and tape it down.

Photobucket

That popsicle stick is then used to rub the stencil until that blue stuff comes off of the plastic you see there.
That becomes the official stencil.
Once that is done, you remove the plastic, tape around the area, and start applying the acidic paste.


Photobucket

You let that sit for a bit, and then wash it off. Removing the tape is the easy part. The stencil is a bit more stubborn. That said, it was a lot of fun.

Monday, October 10, 2011

The Neverending List

'Bout time I got this over with.

I've been keeping links/photos/notes on all the crafts I hope to make someday.
Here is the beginning of that list.
This is only what I have from the netbook I just got this September.
I haven't even gone to the bookmarks page of my laptop I keep at home.
oy vey.

Well, here goes nothing...

Things I have links for:


Other things I don't have links for:

  • Hobo bag
  • Book netbook cover
  • Tootsie Roll wrapper pouch
  • Yarn bombing
  • T-shirt quilt*

  • Perler Bead stuff:
  • floppy disc coasters
  • pikachu and as necklace
  • 1up
  • rubix cube coasters
  • gameboy magnets
  • mario mushroom coasters
  • "you complete me" tetris thing
  • and so many more...
  • Halloween bobby pins/bows
  • Portal cut out bookmark
  • Dr. Who character cross stitch
  • WhoMD shirt
  • Seal of Rassilion necklace/hair pin
  • Candy pouches
  • River Song kindle cover
  • Globe lamp
  • Crayon wreath
  • Mini-fez hat, and hair clip
  • Dr. Who bookmarks
  • Old frame jewelry display
  • Harry Potter pillow
  • Cardboard tubes to organize pens
  • Upside-down bottle plant feeder
  • Lego key chain holder
  • Animal head coat rack (okay, this one sounds creepy, but its super cool. Promise!)
  • Record bookends
  • Wings for the Converse
  • T-shirt braided bracelet
  • Rolled up newspaper placemats
  • Dr. Who skinny scarf
  • Pokemon "home sweet home" sampler
  • "I'm not going to Raichu a love song" sampler
  • 3D papercraft hot air balloons
  • Rolled newspaper photo frame
  • Jenga piece keychains
  • "Bless this motherfucking home" sampler
  • Playing card hair pin
  • Return address labels (I just REALLY need these, not planning on them being very crafty)
  • Weather embroidery PDF Download
  • Felt friendship bracelet PDF Download
  • Mystery braid leather cuff
*denotes I have started this project already

This post will be added to from my laptop at some later date.

Saturday, October 8, 2011

Business Cards

I make a lot of random things, and a lot of people have told me I should start selling my crafts.

I haven't decided if I really will go through with starting a shop, but I like pretending.


SweetlyScrappedArt is another one of my blog crushes that has some wonderful business cards that can be printed out/modified. (Link will take you to that post)

I would, however, like some feedback. Which business cards do you like?

Tuesday, October 4, 2011

How did I get into crafting?

When I was little, my favorite class was art.
blah, blah, blah.
You don't want to hear all that.

The short of it is, I got really involved with crafts, and interacting with other crafters online through one website, and one alone.

Crafter.org

I recommend you check it out.
It's a blog site where people post their projects, can ask questions, and discuss techniques and anything else craft-related that they feel like doing.

Sunday, October 2, 2011

Travel Pillow for my way to Ithaca

When I found out I'd be going to Ithaca, I had no time to run home and grab my travel pillow that I bring with me. Its technically a camping pillow that is full of memory foam that expands (usually it sits rolled up in the corner of my garage with all my camping equipment). Its nice and soft and the only way I can sleep while cramped up on a Greyhound bus.
Looks like this:

and I was not going to REI and paying for another one.

I resolved to make one. I had some awesome flannel that I didn't know what to do with yet (as with half of the things I own).
I knew this would be the perfect project.

A small travel pillow with a tie on one corner so that I could tie it to my backpack while traveling.
First, I made the pillow itself.
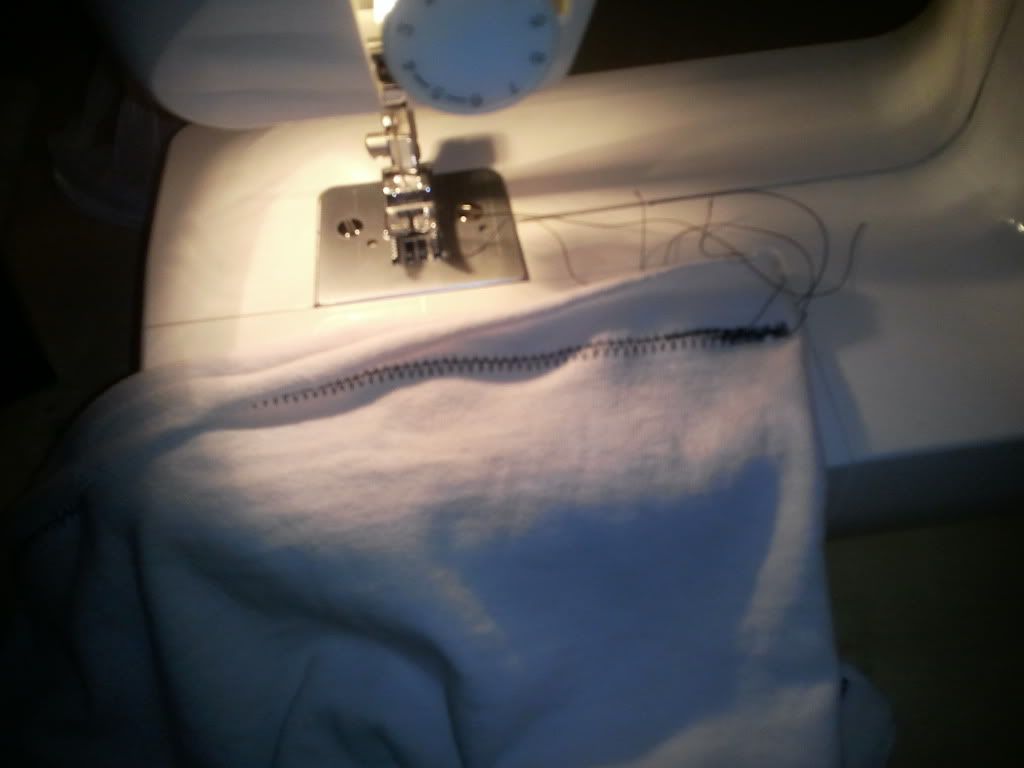
I had some scrap jersey cotton from a tshirt quilt that I am making, and used that to make the pillow.
Jersey fabric is good for this because it stretches, and that meant I could over stuff the pillow, but it would still be soft and squishy.

Photobucket

This was a square, which I sewed three sides of, and then 2/3 of the 4th side, basically so there was an opening i could use to stuff the pillow.

Now, usually, when making a plain pillow, you sew the fabring RSF (Right Sides Facing- this means that you put the colorful sides of the fabri together, sew it, then turn it inside out. What this does is hides all the ugly seams and threads on the inside). However, because I was going to cover it with a case (flannel is nice and soft, and if it got dirty I could wash it), I didn't really care too much.

So after stuffing it, I sewed it up and set to work on the case.

I bought this wonderful flannel fabric with dinosaurs on it.
When I bought it, I had no idea what I could/would do with it.
[yes, yes, I'm an impulse buyer and a hoarder, call TLC]
but c'mon, they're dinosaurs!

so anyways, I dont believe in measuring tapes, [read: have 4 or five and can never find them and then get impatient]
so instead of measuring, I held the (still unstuffed) pillow against the fabric, and cut out the height and then 2 and 1/2 times the length.
then i folded it to make the case.

remember how i said you have to do nice things inside out?
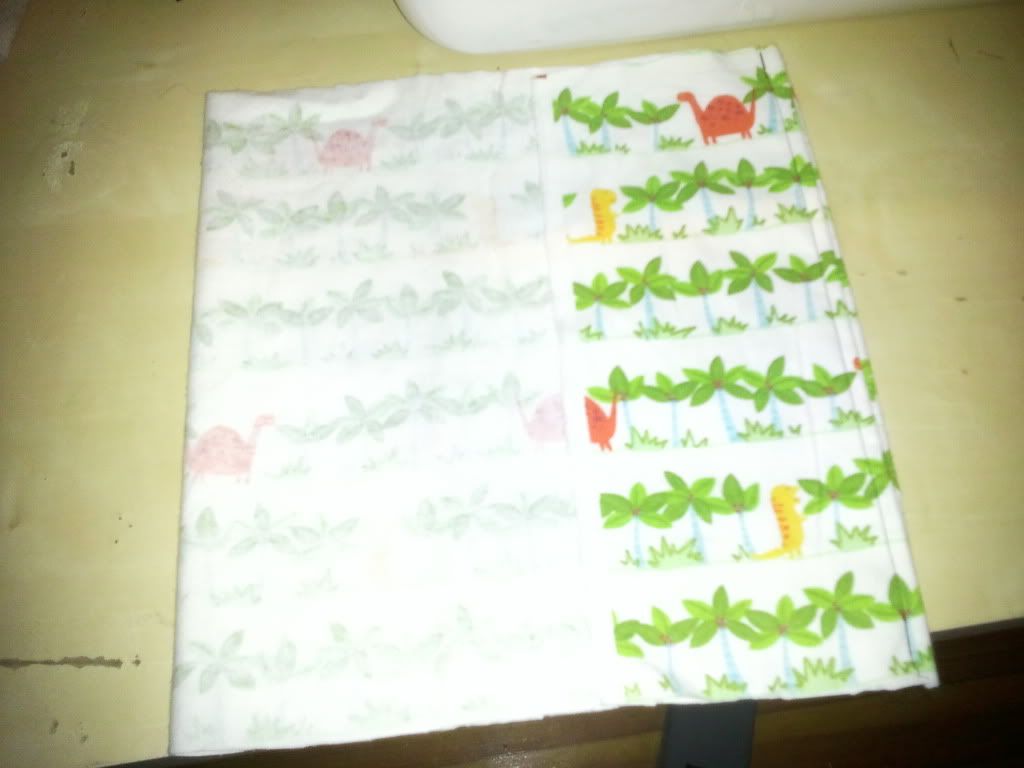
so the pillow case before sewing looked like this:
Photobucket
(please excuse the glare)

anyways, you can see that the pillowcase is inside out with 1/2 extra facing up like that.
This is so when I turn it inside out, that extra 1/2 will work as a lip to catch the pillow and I wont have to sew in buttons or Velcro, but the pillow can come out so that I can throw the case in the wash if I am in so inclined.

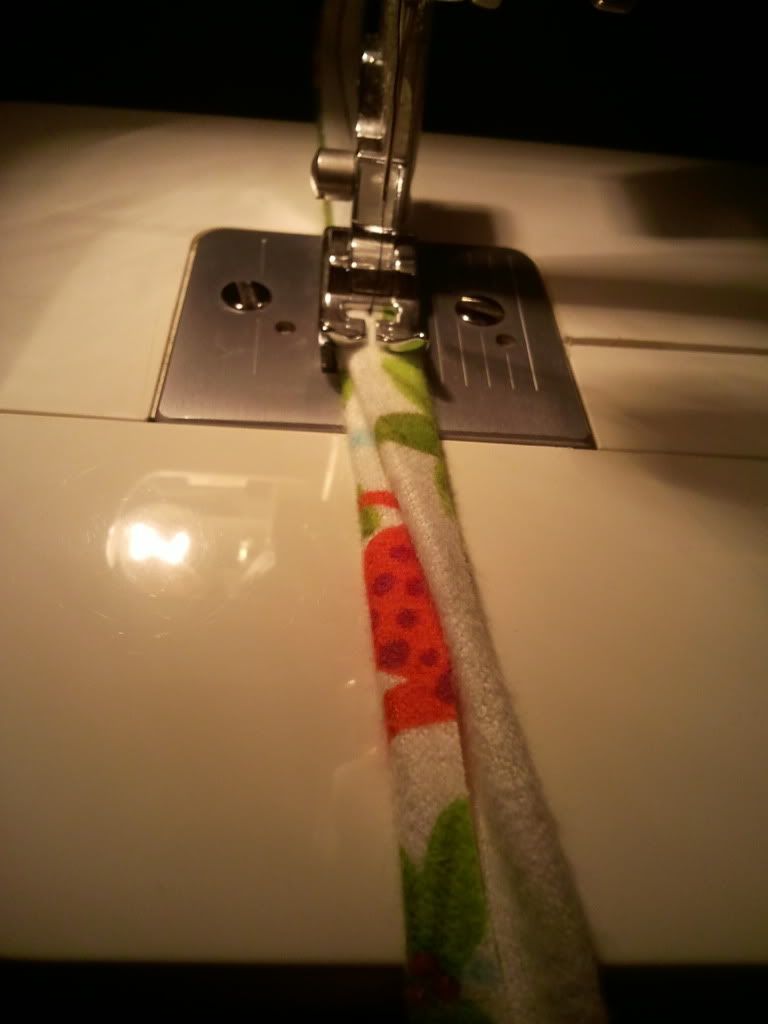
before I sewed this all together, I made a small string to attach to one corner, so that I could tie it to my backpack and not lose it [an ironic statement, as I've already lost it somewhere in Dillingham].


Photobucket

what you can sort of see here is that I've folded it in half, and then in half again.
good little sewers (people who sew, not the drainage system) [not me, on both accounts!] actually IRON things before they sew them. But I walk on the wild side [read: didnt have an iron until last week, dont actually follow the rules]
so you wont see any sharp corners, and thus its a little [lot] crooked.
whatever. its not a gift.

this was sewn into the corner, with the strings facing inside, so that when i flipped it, they were on the outside.
[yes, ive done that the wrong way HUNDREDS of times. do i pin things and then flip them to see if its right? Of course not.]


so when the pillow is stuffed and the case is on, it looks like this:

Photobucket

So yeah, it was a life saver for the way to ithaca, (1am bus ride to NYC)
but now ive lost it. so well see what happens on the way home, thankfully that will be in daylight.